Nail care has come a long way, and one of the most popular trends in recent years is gel polish. It offers a long-lasting, chip-free finish that’s perfect for those who want their nails to look flawless for weeks. However, achieving that salon-perfect gel polish look starts with proper nail preparation. Without it, even the best gel polish won’t adhere properly or last as long as it should. So, let’s dive into the essential steps on how to prep nails for gel polish.

Understanding Gel Polish
Before we get into the nitty-gritty of nail prep, let’s understand what gel polish is. Unlike regular nail polish, gel polish is a type of nail enhancement that requires curing under a UV or LED lamp. It provides a durable, glossy finish that can last up to three weeks without chipping.
Differences Between Gel Polish and Regular Nail Polish
The primary difference between gel polish and regular polish lies in their durability and application process. Regular polish dries through evaporation, which can take time and isn’t as durable. Gel polish, on the other hand, cures under UV or LED light, resulting in a harder, longer-lasting finish.
Gathering Your Supplies
To prep your nails for gel polish, you’ll need the right tools and products. Here’s a list of essential items:
- Nail polish remover
- Nail clippers and files
- Cuticle pusher and nippers
- Nail buffer
- Nail dehydrator
- Base coat, gel polish, and top coat
- UV/LED lamp
For the best results, consider investing in quality brands known for their reliability and performance in nail care.
Starting with Clean Nails
Clean nails are the foundation of any great manicure. Begin by removing any old polish using a non-acetone remover, which is gentler on your nails. Afterward, wash your hands thoroughly to remove any residue and oils that might interfere with the adhesion of the gel polish.

Trimming and Shaping Your Nails
Next, trim your nails to your desired length. Choose a shape that suits your style, whether it’s square, round, or almond. Use a nail file to smooth the edges and shape your nails, filing in one direction to prevent splitting.
Cuticle Care
Cuticle care is crucial for a clean, professional look. Soak your fingertips in warm water to soften the cuticles. Gently push them back using a cuticle pusher, and trim any excess with cuticle nippers. Be careful not to cut too much, as this can lead to infections.
Buffing the Nail Surface
Buffing helps to create a smooth surface for the gel polish to adhere to. Use a nail buffer to gently buff the entire nail surface. This not only smooths out ridges but also removes the natural oils from your nails, which can prevent the gel polish from sticking properly.
Dehydrating the Nails
Dehydrating your nails ensures that they are completely free of oils and moisture. Use a nail dehydrator, which is typically a liquid applied to the nails before the base coat. This step is essential for preventing lifting and ensuring long-lasting wear.

Applying a Base Coat
A good base coat is the foundation of a lasting gel manicure. Apply a thin, even layer of the base coat to each nail. This not only helps the gel polish adhere better but also protects your natural nails from staining and damage.
Curing the Base Coat
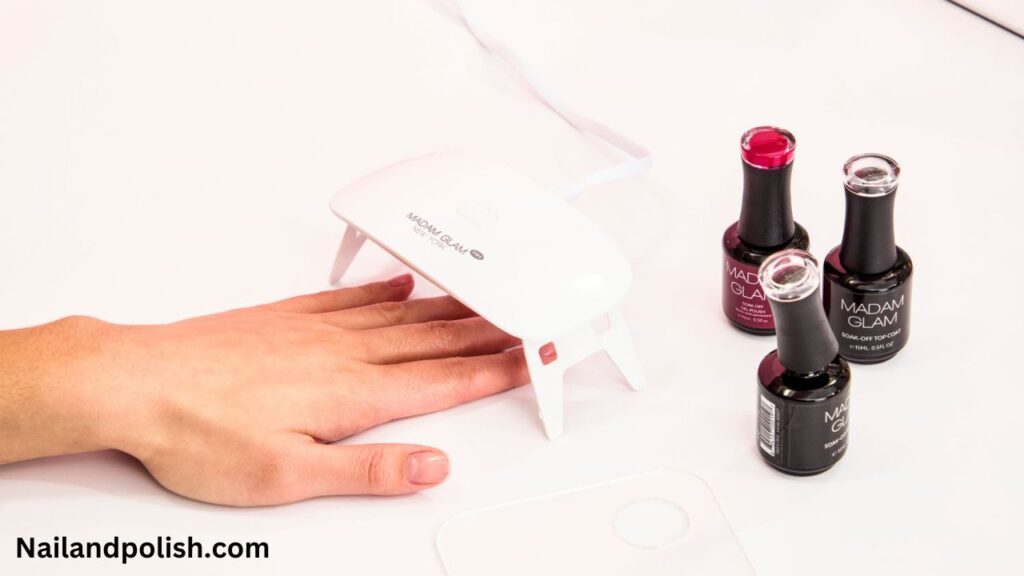
Curing the base coat under a UV or LED lamp is essential. Follow the manufacturer’s instructions for the appropriate curing time, usually around 30-60 seconds. This hardens the base coat, creating a solid foundation for the gel polish.
Applying Gel Polish
Now comes the fun part – applying the gel polish! Apply a thin, even layer of gel polish to each nail, starting from the base and moving towards the tip. Avoid getting polish on your cuticles or skin, as this can cause lifting and peeling.

Curing Gel Polish Layers
Each layer of gel polish needs to be cured under the UV/LED lamp. Typically, 30-60 seconds per layer is sufficient. For a more opaque finish, apply a second thin layer of gel polish and cure again. Remember, thin layers are key to preventing bubbles and uneven curing.
Applying a Top Coat
The top coat is what gives your gel manicure its shine and durability. Apply a thin layer of top coat over the cured gel polish. This seals in the color and adds a protective layer to prevent chips and scratches.
Final Curing and Finishing Touches
Cure the top coat under the UV/LED lamp for the recommended time. Once cured, wipe off any sticky residue with a lint-free wipe soaked in isopropyl alcohol. Clean up the edges of your nails with a small brush dipped in nail polish remover if needed.
Also Read: How Long for Liquid Nails to Dry? Expert Insights and Tips
Conclusion
Properly prepping your nails for gel polish is a game-changer for achieving that salon-quality manicure at home. By following these steps, you’ll ensure your gel polish adheres perfectly and lasts for weeks without chipping. Remember, the key to a great gel manicure lies in the preparation.
FAQs
- How Often Should I Reapply Gel Polish?
- It’s best to reapply gel polish every 2-3 weeks to maintain a fresh look and prevent damage to your natural nails.
- Can I Prep My Nails Without Professional Tools?
- Yes, many of the tools needed for nail prep can be found in at-home manicure kits or purchased separately at beauty stores.
- What if I Have Naturally Weak Nails?
- If you have weak nails, consider using a nail strengthener before applying the base coat. Also, ensure you’re not over-buffing your nails.
- How Can I Avoid Gel Polish Peeling?
- To avoid peeling, make sure to properly prep your nails by dehydrating them and applying thin layers of gel polish.
- Are There Any Tips for Removing Gel Polish Safely?
- To safely remove gel polish, soak a cotton ball in acetone, place it on your nail, and wrap it in aluminum foil. Let it sit for 10-15 minutes, then gently push off the softened polish with a cuticle pusher.
Leave a Reply